SOLAR CHICKEN COOP
One panel, zero effort. Automatic door, lights, fan, and heated water — your flock runs itself.
One panel, zero effort. Automatic door, lights, fan, and heated water — your flock runs itself.
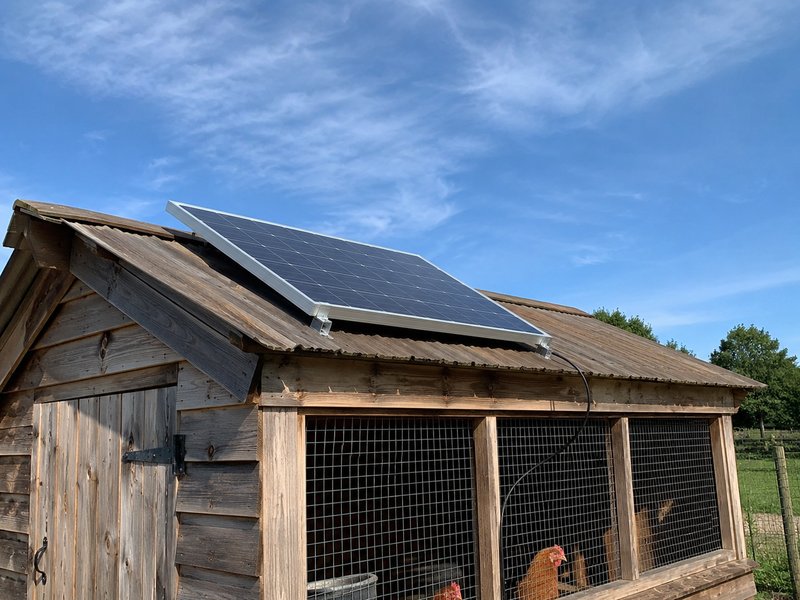
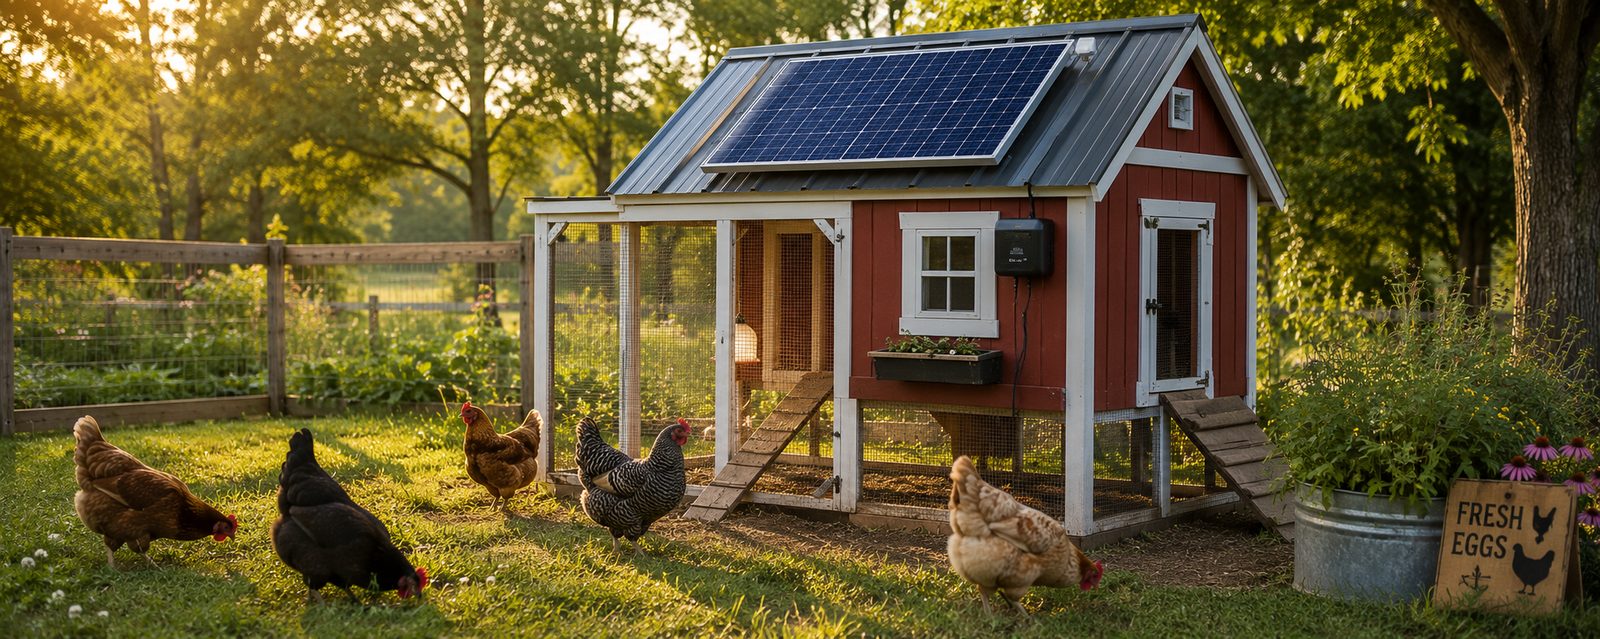
A single 100W solar panel powers everything your chicken coop needs: an automatic door opener, interior LED lighting for winter egg production, a small ventilation fan for summer heat, and a heated water bowl to prevent freezing. Zero daily effort, zero electricity cost.
The overlap between solar buyers and backyard chicken keepers is enormous — both groups value self-sufficiency, reducing costs, and practical DIY projects. A solar coop eliminates the daily chore of opening and closing the door at dawn and dusk, keeps egg production up during short winter days (chickens need 14+ hours of light), and prevents the number-one winter chicken problem: frozen water. All from a single panel that pays for itself in one season of not running extension cords.
Every component links to Amazon and eBay. Where we use the product by name, a direct Renogy link is included too.
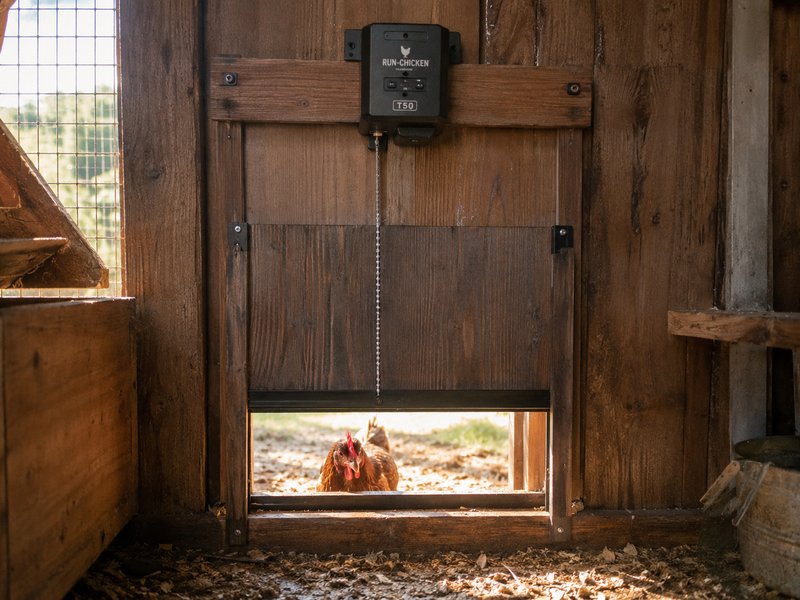
The star of the build. Light-sensor models open at dawn and close at dusk automatically. Timer models let you set exact hours. Most run on 12V or have battery options you can wire directly to your solar system. One install and you never hand-crank a coop door again.
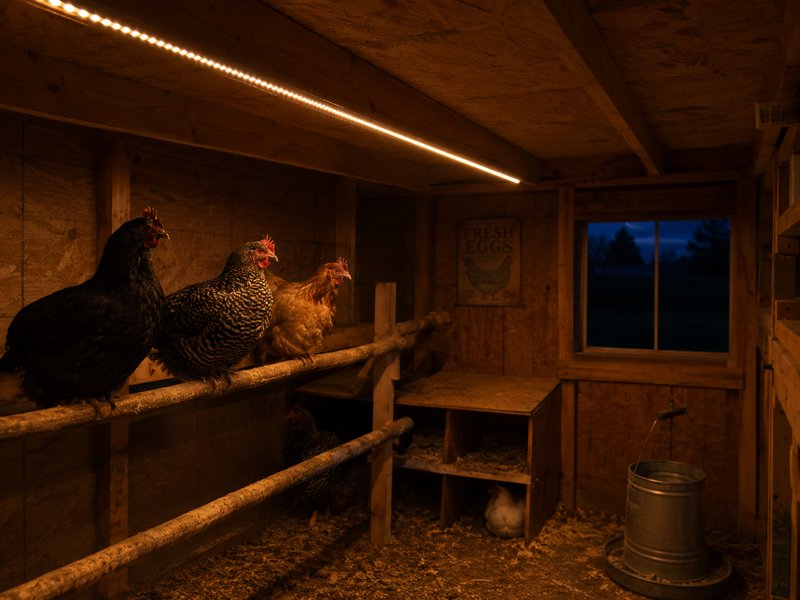
Extends "daylight" hours inside the coop during winter to keep egg production up. Chickens need 14+ hours of light for consistent laying. A timer-controlled warm white LED strip on the ceiling beam does the job. Set a 12V timer to turn on at 4am and off at natural sunrise.
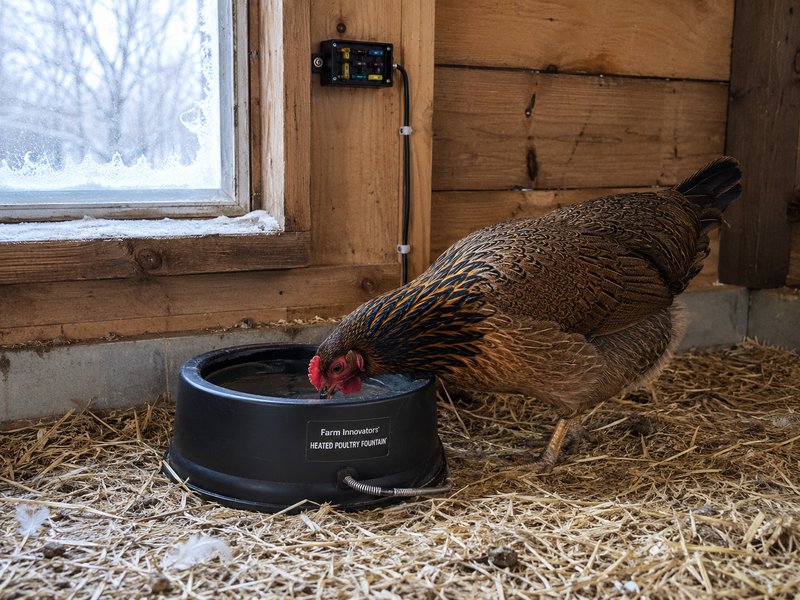
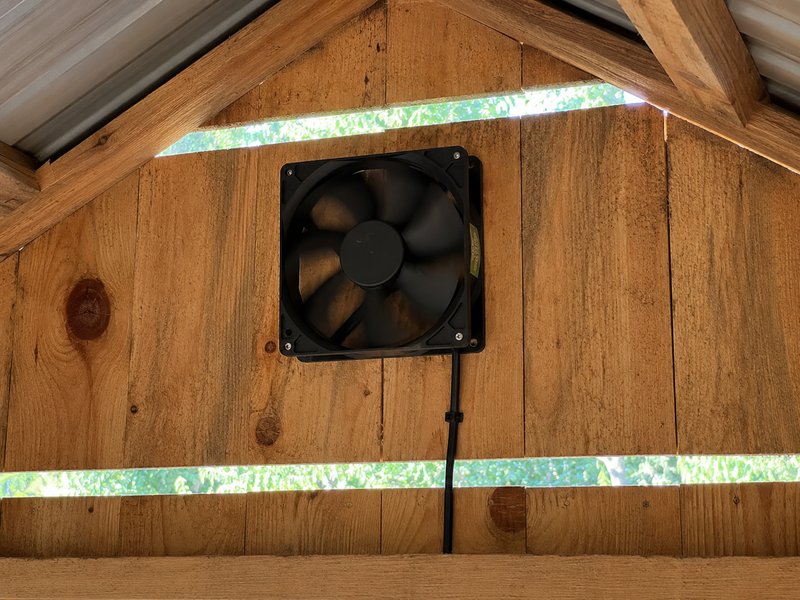
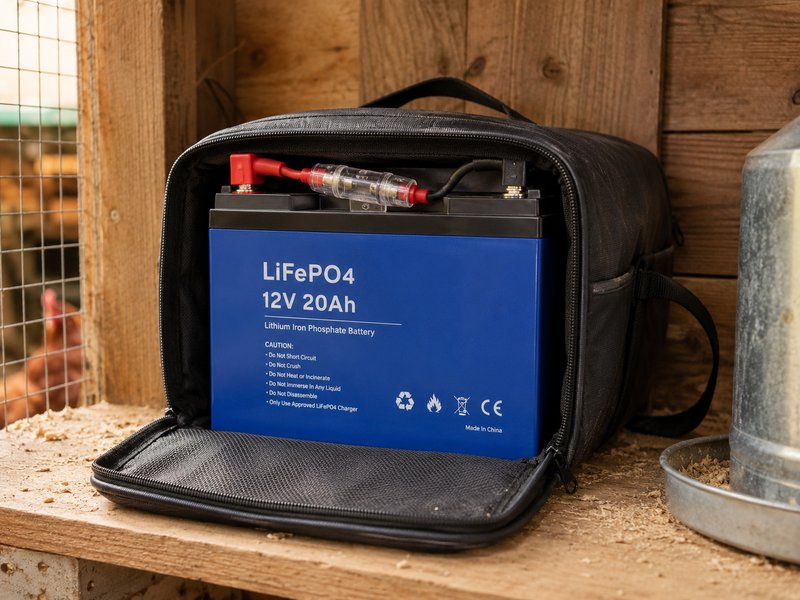
Prevents frozen water. Thermostatically controlled — only draws power below 35°F. Some models run on 12V; others need a small inverter. This is the highest-draw component, so it is optional depending on your climate. In hard-freeze zones, upgrade to a 50Ah battery.
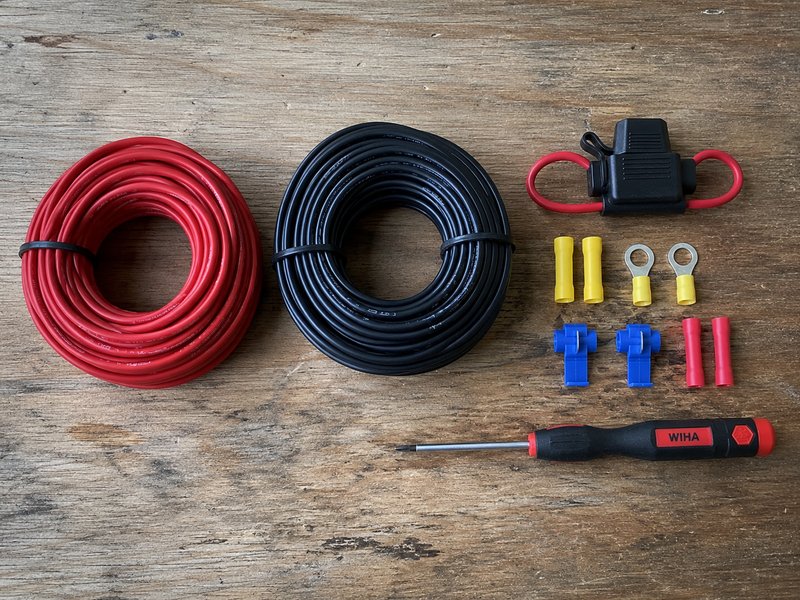
Total build time is 1–2 hours. No soldering, no inverter for most setups — everything runs on 12V DC.
Attach the 100W panel to the coop roof (angled toward south) or on a nearby post/fence. Use Z-brackets or L-brackets. Run the panel cable through a weather-sealed entry point into the coop's utility area — a small corner shelf or mounted box where your electronics live.

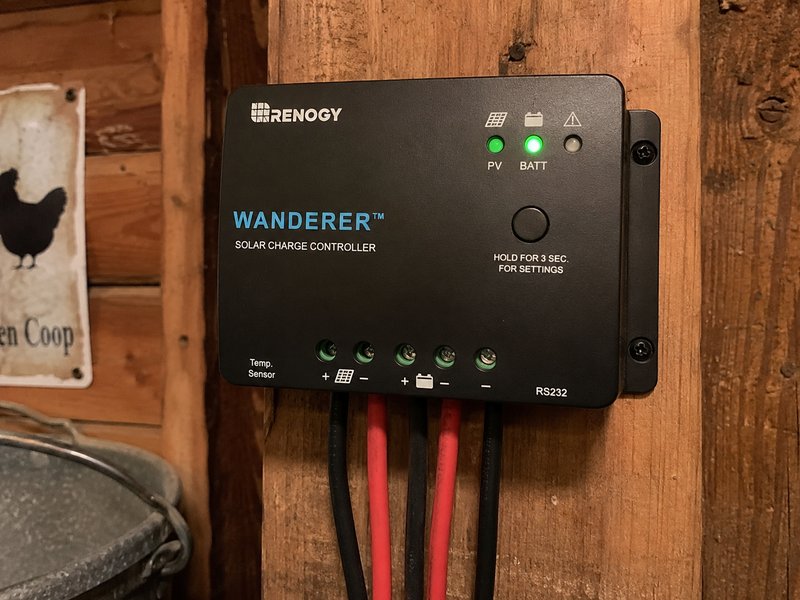
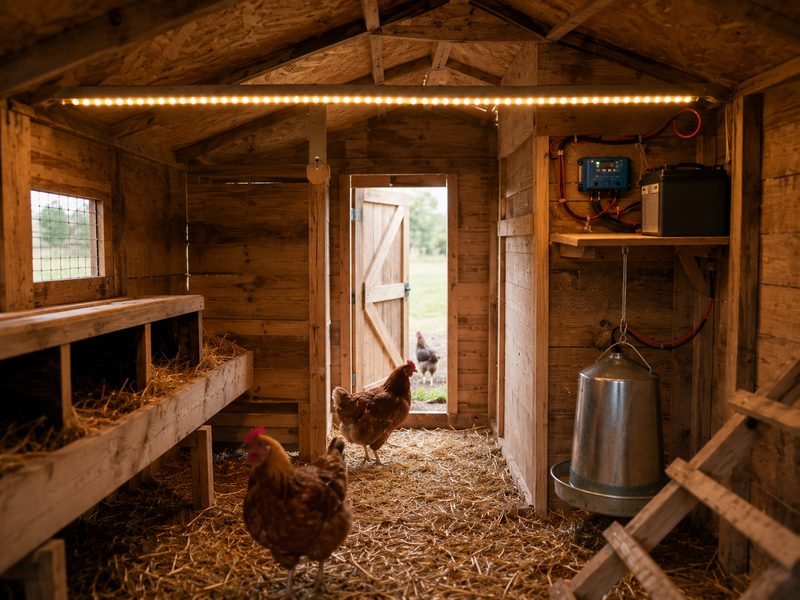
Mount the charge controller on the inside wall. Connect the battery to the controller's battery terminals, then connect the solar panel input. The controller's LEDs should immediately show incoming solar. Place the LiFePO4 battery on the shelf in a weatherproof bag — off the ground to avoid moisture.
Follow the door opener manufacturer's instructions — most mount above the door frame with the motor pulling a guillotine-style door via a string or chain. Wire the opener's power input to your 12V system (through the charge controller's load terminals or directly to the battery with a fuse). Set the light sensor mode or program your timer. Test by covering the sensor with your hand — the door should close within a few seconds.
Stick the LED strip along the ceiling beam. Wire it through a 12V timer set to turn on at 4am and off at natural sunrise (adjust seasonally). Mount the ventilation fan near the roof peak on an interior wall. For the heated water bowl, place it where chickens can access it and wire to the 12V system. All connections go back to the battery through the fuse block.
That is it. Your chickens are now on solar. The door opens at dawn and closes at dusk. Lights extend winter laying. The fan keeps summer heat manageable. Water stays liquid in January. Your total daily draw is roughly 10–15Ah — the 100W panel replenishes that in 2–3 hours of sun, leaving plenty of margin even on cloudy days. Check on the system once a month — clean the panel, inspect wiring, and confirm battery charge level.
A Bluetti portable power station pairs perfectly with a solar coop setup — charge it from the sun, then use it to run tools, charge devices, or back up the house when storms roll in.
Browse Bluetti Power Stations →